If you're working on aluminum panels—whether it's a hood, a fender, or structural sheet—the choice of **epoxy primer for aluminum** isn't just a detail. It's the difference between a repair that holds and one that peels off in a year. Many shops grab a universal epoxy and hope it works. That's not how it plays out with aluminum.
Aluminum is chemically different from steel. It forms a stubborn oxide layer that resists adhesion. Standard primers often fail to bond properly, leading to delamination, corrosion, and a comeback that eats your profit. The right **epoxy primer for aluminum** is formulated to etch that oxide layer and create a mechanical and chemical grip. This isn't theoretical—we've seen the failures in the field.
Why Aluminum Needs a Dedicated Primer
Aluminum's surface energy is lower than steel's. Paint and primer simply don't wet out as easily. On top of that, the natural oxide layer reforms within minutes after sanding. If your primer doesn't penetrate that layer, you're painting on a film that can lift. A quality **epoxy primer for aluminum** often contains corrosion-inhibiting pigments like strontium chromate or zinc phosphate. These compounds actively protect the substrate even if the coating gets scratched.
We've reviewed case files where a shop used a standard automotive epoxy on an aluminum hood. Within six months, the primer let go along body lines and near the edges. The owner came back demanding a redo. The cost of stripping and refinishing that hood far exceeded the difference in primer price. Don't learn that lesson the expensive way.

How Epoxy Primer Bonds to Aluminum
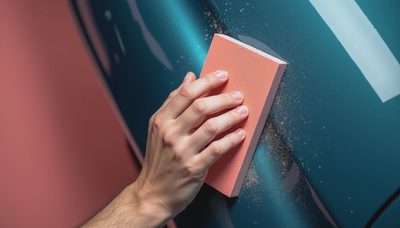
Epoxy primers work through a combination of chemical crosslinking and mechanical adhesion. When applied to properly prepared aluminum, the epoxy molecules react with the etched surface to form strong bonds. The key is preparation: aluminum must be abraded with a fine-grit sandpaper (180-220) and then cleaned with a dedicated wax and grease remover. Some manufacturers recommend an acid etch wash before priming. For example, products like SEM's Epoxy Primer are known to adhere well to aluminum when the substrate is scuffed and degreased.
The curing process matters too. Most epoxy primers require an induction period after mixing—typically 15-30 minutes—to allow the chemical reaction to start. Applying too early can trap solvents and reduce adhesion. Follow the data sheet exactly. We've seen cases where a hurry-up job led to blistering within weeks.
Application Steps That Actually Work
Here's the process we recommend based on documented successful repairs:
- **Sand** the aluminum with 180-grit DA paper. Don't skip this—the mechanical tooth is essential.
- **Clean** with a solvent like 3M Prep Solvent or PPG DX330. Use two clean cloths: one wet, one dry.
- **Apply** a thin, wet coat of your chosen **epoxy primer for aluminum**. Let it flash for the manufacturer-specified time.
- **Apply** a second full coat. Allow to cure per instructions (usually 30-60 minutes at 70°F before topcoat).
We've seen shops skip step 2 and get away with it on steel. On aluminum, that's a gamble. The solvent wipe removes invisible contaminants that can cause fish eyes and adhesion failure.
Common Mistakes That Ruin an Aluminum Repair
Let's be direct: the biggest mistake is using a self-etching primer that's not designed for aluminum. Many self-etching primers rely on phosphoric acid to etch steel, but that chemistry can react poorly with aluminum, creating a weak interlayer. Stick to a dedicated epoxy or a primer that explicitly says "for aluminum."
Another error is sanding too coarse. 80-grit leaves deep scratches that the epoxy can't fill evenly, leading to sinkage. Conversely, sanding too fine (400-grit) reduces mechanical adhesion. The sweet spot is 180-220.
Then there's moisture. Epoxy primers are sensitive to humidity. If the ambient air is above 60% RH, the primer can blush (turn milky) and lose adhesion. A dehumidified booth is ideal. If you don't have one, check the weather before you spray.
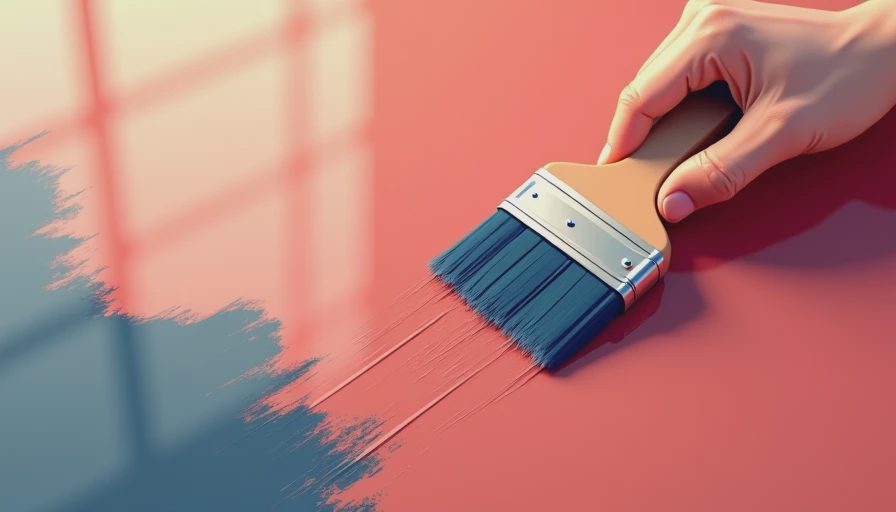
Our Take: Skip the Cheap Stuff
The average cost of a gallon of quality **epoxy primer for aluminum** runs between $80 and $150. A budget general-purpose epoxy might be half that. But we've documented case after case where the cheap primer failed on aluminum within a year. The labor to strip and respray a panel is easily $300-500. The math is simple: invest in the right product the first time.
Brands like PPG (DP series), Sikkens, and U-POL have formulations that work reliably on aluminum. Look for products that list "aluminum" in their technical data sheet. Call the tech line if you're unsure. They want your repeat business and will give straight answers.
Final Verdict
Aluminum isn't going away in modern vehicles. As more hoods, doors, and structural panels switch to aluminum, understanding how to prime it correctly is a skill every shop needs. The **epoxy primer for aluminum** is a tool, not a magic wand. Pair it with proper surface prep and controlled application, and you'll get repairs that last. Ignore the details, and you'll be refunding money six months down the road. We've seen both outcomes. Choose wisely.
*Have a case where epoxy primer failed on aluminum? Share your story in the forums with photos and the primer used. We'll help you figure out what went wrong.*

No notes yet — write the first.