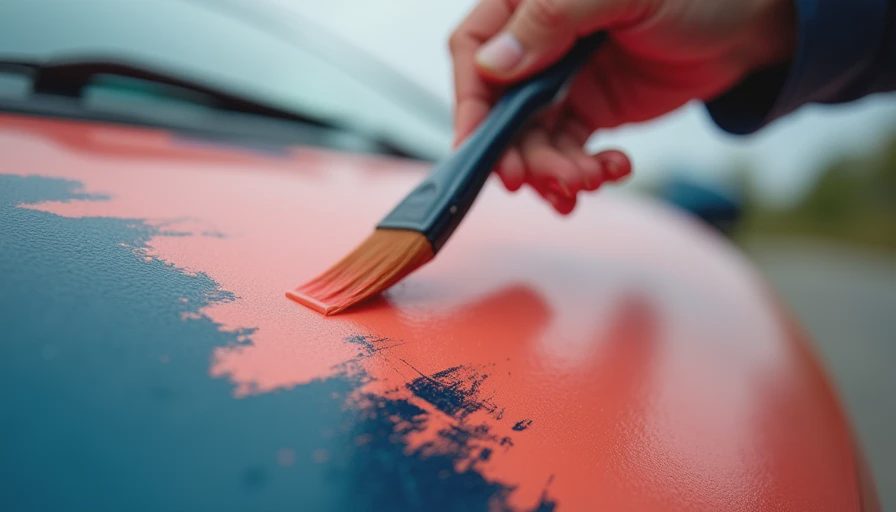
If you've ever painted a panel on your car and ended up with a noticeable color difference, you know the frustration. The trick to avoiding that line of demarcation is learning **how to blend paint on car** panels. Paint blending is a technique where you gradually fade the new paint into the old paint on adjacent panels, so the repair is invisible. Whether you're fixing a scratch, a dent, or a full panel replacement, mastering this skill can save you hundreds of dollars and make your repair look factory-fresh. In this guide, we'll walk through the tools, process, and tips for successful paint blending.
Understanding Paint Blending and Why It Matters
Paint blending isn't just about spraying more paint—it's about matching color, texture, and gloss. When you apply paint to a single panel, the fresh coat often looks different from the surrounding original paint due to fading, UV exposure, and wear. Blending extends the repair onto adjoining panels, feathering the new paint out so the transition is invisible. For structural repairs, this cosmetic step is critical: a mismatched paint job signals a poor repair and can lower resale value. For owners documenting their repair at CrashFile Garage, we always ask for photos of the blending area—cosmetically clean is structurally clean only if the paintwork is seamless.
Tools and Materials You'll Need
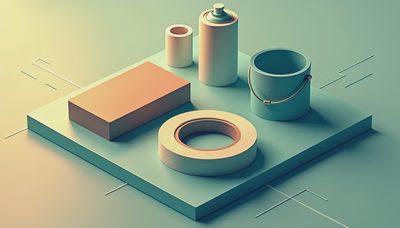
Before you start, gather the right supplies. You'll need: automotive paint matched to your car's color code, clearcoat, reducer or hardener (depending on your paint system), a gravity-feed spray gun (HVLP is best), masking tape and paper, tack cloth, sandpaper in 600, 1000, 2000, and 3000 grit, a dual-action sander or rubber sanding block, polishing compound, and a buffer. For blending, you'll also need blending solvent (also called blending thinner) to thin the paint for a smooth fade. Many pros use a product like 3M's Blending Solvent. Don't skimp on masking—overlap onto adjacent panels you plan to blend.
Step-by-Step Guide: How to Blend Paint on Car Panels
Step 1: Prepare the Surface
Start by sanding the repair area and the surrounding panel. If you're repairing a scratch, feather the edges with 600-grit sandpaper. For a new panel, scuff the surface with a gray scuff pad. Clean with wax and grease remover. Then mask off areas you don't want painted, but leave adjacent panels uncovered where you'll blend.
Step 2: Apply Basecoat in the Repair Area
Spray the basecoat color on the repaired panel in light, even coats. Let each coat flash (dry to the touch) before the next. Build coverage over the repair, but start to reduce the spray pattern as you move toward the edges. The key is to **blend paint on car** panels by gradually fading the edge.
Step 3: Blend the Edge
After the basecoat is fully covered in the repair area, switch to a blending technique. Thin the remaining basecoat with blending solvent (about 50/50 for many paints). Reduce the air pressure on your gun to about 20-25 PSI. Open the pattern to wide fan. From about 10 inches away, spray a light dusting over the edge where the new paint meets the old. The idea is to lay down fine, dry particles that taper off, not wet paint. Work outward in total of three to five passes, each time moving further onto the adjacent panel. The final pass should be so light that you barely see paint landing.
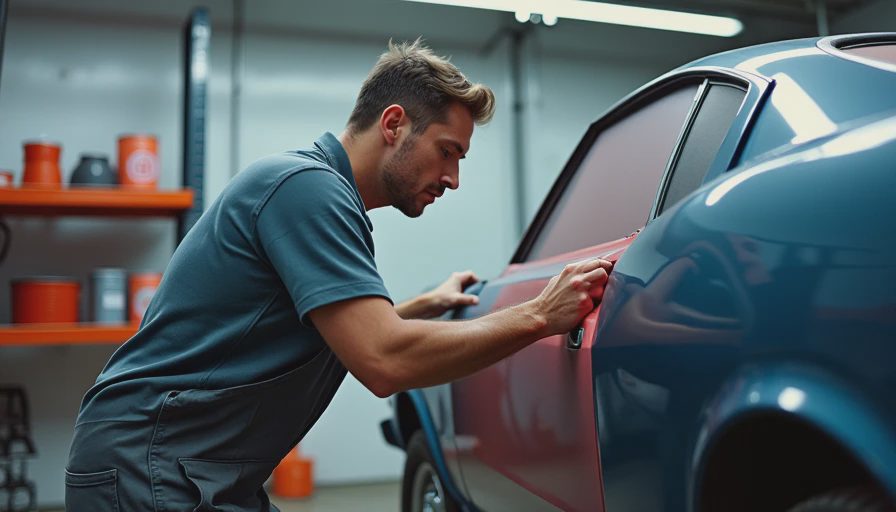
Step 4: Apply Clearcoat
Once the basecoat is dry (check flash time on your paint), mix clearcoat and apply two to three full wet coats over the repair area. But when you reach the blended edge, reduce your spray pattern again. For clearcoat blending, you can either fade it out similarly or stop at the edge and later polish the transition. Many professionals use a clearcoat blender (a reducer that helps clear flow out) to disguise the edge. Let the clear cure overnight.
Step 5: Sand and Polish
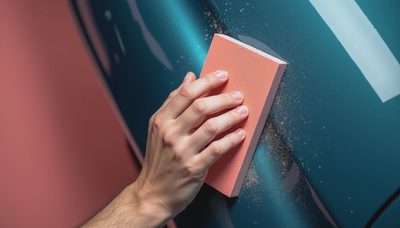
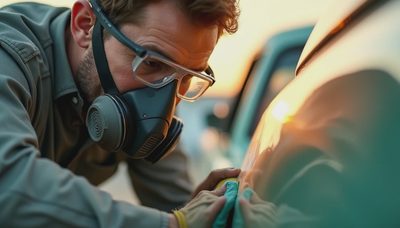
After curing, sand the clearcoat surface starting with 2000-grit and working up to 3000-grit to level any orange peel. Use a block on flat areas, hand on contours. Then buff with a polishing compound (like Meguiar's M105) followed by a finishing polish (M205). The result should be a seamless, glossy blend.
Common Mistakes and How to Avoid Them
- **Skipping the blend step entirely**: Many DIYers just paint the panel and stop. That creates a stark line. Always fade onto adjacent panels.
- **Too much paint on the blend**: If you spray wet coats onto the adjacent panel, you'll create a hard edge. Keep passes light and dry.
- **Not using blending solvent**: Without it, basecoat dries too fast and leaves a rough texture. Use thinner for a smooth fade.
- **Rushing the clearcoat**: Blending clearcoat is harder because it's thicker. Practice on scrap metal first.
When to Call a Pro
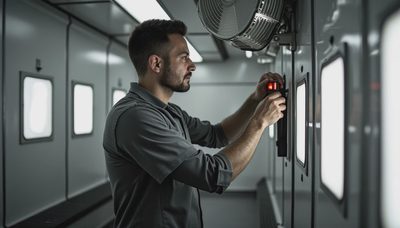
Paint blending is an advanced skill. If your car has metallic paint, tri-coat (pearl), or a complex color, the odds of a perfect match by hand are low. Also, if the repair area is large or includes multiple panels, a professional body shop with a computerized paint mixing system and a spray booth will give a better result. For structural repairs that involve frame pulling or sectioning, don't let the paint job be an afterthought. A proper blend shows the repair was done with care.
Final Thoughts
Learning **how to blend paint on car** panels separates a professional-looking repair from a driveway disaster. It takes patience, practice, and the right materials. Start on a small area, follow the steps, and you'll save money while keeping your car looking its best. When you post your repair case at CrashFile Garage, include photos of the blend zone—it's one of the first things experienced members look for.
No notes yet — write the first.