If you’ve ever looked at a collision repair estimate and seen a line item for "epoxy primer over body filler," you might have wondered why it matters. In the world of accident repair, the difference between a job that holds up and one that fails often comes down to how the filler surface is sealed. **Epoxy primer over body filler** isn't just a nice-to-have—it's a critical step that prevents moisture intrusion, corrosion, and premature paint failure. Whether you're a DIYer or scrutinizing a shop's work, understanding this process is key to a long-lasting repair.

Why Epoxy Primer Over Body Filler Matters in Collision Repair
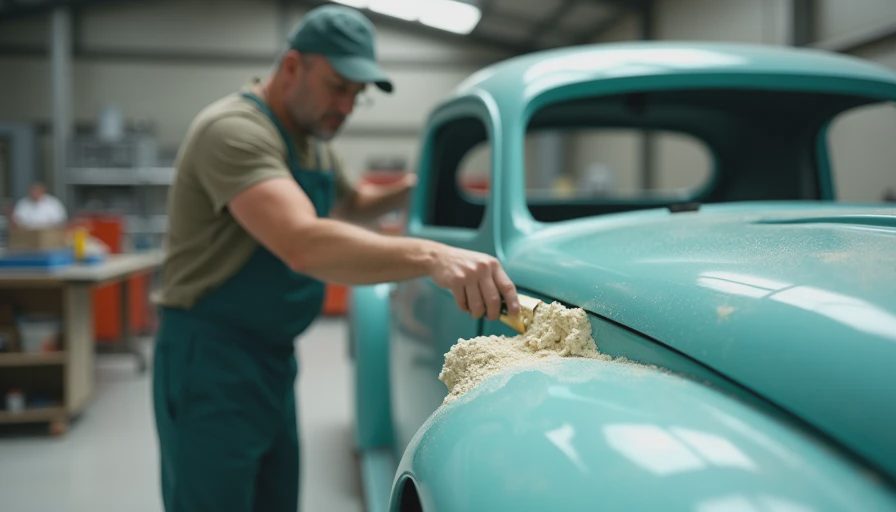
Body filler (often called Bondo) is porous. If you spray paint directly over it, solvents from the paint can soak in, causing shrinkage, cracking, or adhesion loss over time. Worse, moisture that seeps through pinholes or scratches will reach the metal underneath, triggering rust. **Epoxy primer over body filler** seals the filler, creating a moisture barrier and a chemical bond that locks the entire repair together. In structural repairs, this is even more critical—panel sectioning and welds are vulnerable to corrosion if not properly sealed. A shop that skips this step is cutting a corner that can lead to bubbling paint and hidden rust within a year.
The Step-by-Step Process for Applying Epoxy Primer Over Body Filler
- **Let the filler cure fully**—most polyester fillers need at least 30 minutes at 70°F, but overnight is safer.
- **Sand the filler** with 80–120 grit to rough up the surface and remove any gloss.
- **Clean thoroughly** with wax and grease remover—no dust, oil, or silicone.
- **Mix the epoxy primer** according to the manufacturer's ratio (typically 4:1 or 2:1).
- **Apply** two medium coats, allowing flash time between each (usually 10–15 minutes).
- **Let it cure** for the recommended time—some epoxies can be sanded after an hour, but for best results, wait 24 hours.
- **Sand with 320–400 grit** before applying primer-surfacer or paint.
**Pro tip**: Never apply epoxy primer over filler that hasn't been properly sanded—the primer won't adhere, and the repair will fail.
Common Mistakes That Compromise the Repair
- **Skipping the epoxy primer entirely**—sometimes done to save time or money. The result: delamination, rust, and a repair that looks bad within months.
- **Using regular primer (non-epoxy) over filler**—urethane or lacquer primers don't seal as well and can react with filler.
- **Applying too thick**—heavy coats cause runs and trap solvents, leading to bubbles.
- **Not letting filler cure**—moisture trapped under the primer will cause corrosion.
- **Incorrect mixing**—off-ratio epoxy won't cure properly, turning gummy or brittle.
If you're reviewing a shop's work, ask for the product names and check that a two-part epoxy primer was used—not just a spray can.
How Proper Primer Use Affects Resale Value and Structural Integrity
When you sell a car that's been in a major accident, potential buyers will look for signs of repair—paint meter readings, overspray, or bubbles. A repair that used **epoxy primer over body filler** will be less likely to show rust or paint failure down the road. That means fewer surprises during a pre-sale inspection. Financially, a proper repair preserves more of the car's value. A car with rust blistering around repaired panels can lose thousands compared to one with a clean, sealed finish. And if a structural repair wasn't sealed, corrosion can weaken joints, creating a safety risk that no buyer should accept.
Epoxy Primer vs. Other Primers Over Filler
Epoxy primer is the gold standard because it provides both adhesion and corrosion resistance. Here's how it stacks up against alternatives:
- **Urethane primer**: Good for sealing but less flexible; can crack over filler.
- **Lacquer primer**: Cheap but poor moisture resistance; often reacts with modern filler.
- **Self-etching primer**: Designed for bare metal, not for use over filler.
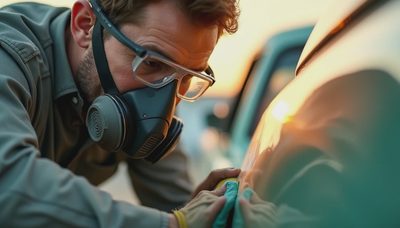
For the DIY home mechanic, epoxy primer is also easier to apply than you might think—just follow the mix instructions and wear a respirator.
What to Look for in a Body Shop's Paperwork
When you get a repair estimate or invoice, scan for:
- A line item for "epoxy primer" or "corrosion primer"
- Brand names like 3M, PPG, SEM, or SPI
- Application steps that mention sealing over filler
- A warranty that covers paint adhesion and rust-through
If the estimate only lists "bodywork and paint" without mentioning epoxy primer, ask the shop to confirm they seal every filler repair. A reputable shop will have no problem explaining their process—a vague answer is a red flag.
Getting the full story on **epoxy primer over body filler** means you can inspect the repair with confidence. The question isn't whether it looks fixed—it's what's under the paint that matters.



No notes yet — write the first.