When a car comes out of the body shop after a serious collision, the visible paint job often gets all the attention. But ask any experienced technician what really makes a repair last, and they'll point to what's underneath: the primer. Specifically, **nason epoxy primer** has become a go-to choice for many shops that prioritize corrosion resistance and long-term adhesion. Whether you're an owner chasing a diminished-value claim or a tech evaluating a repair, understanding how this primer works matters.
Nason (a brand under the Axalta/Cromax umbrella) produces a two-part epoxy primer that's widely used in collision repair for bare metal, fiberglass, and even some aluminum. Its main claim to fame is chemical resistance and the ability to seal moisture out. In structural repair, where pinch welds, sectioned rails, and replaced panels are exposed, the difference between a good epoxy primer and a cheap aerosol can is the difference between a car that stays solid for another decade and one that sprouts rust bubbles in two years.
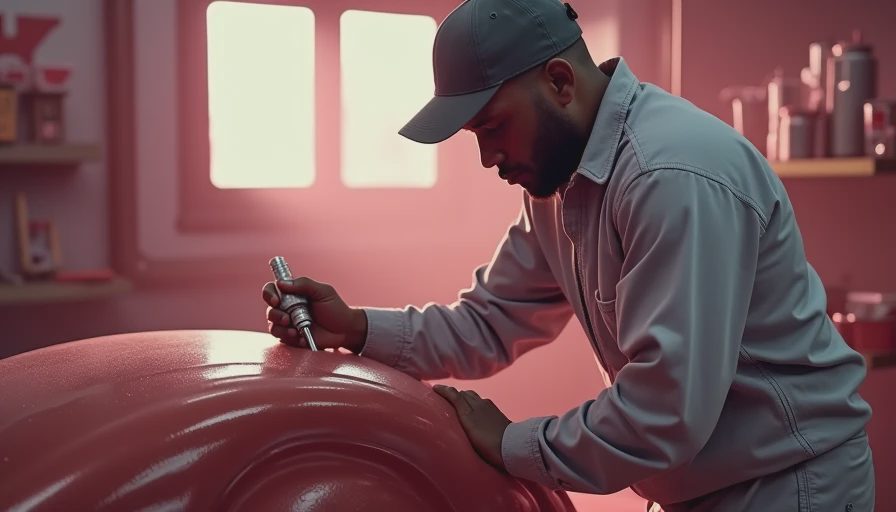
What Makes Nason Epoxy Primer Different from Standard Primers?
Standard urethane primers are fine for sanding and filling minor scratches, but they don't offer the same bite on bare steel. Nason epoxy primer uses a resin-hardener reaction that bonds chemically with the substrate. That means it sticks even to smooth, sanded metal where mechanical adhesion alone might fail. For a car that's had frame sections replaced or quarter panels grafted in, this bond is critical.
Another difference is moisture permeability. Epoxy primers are much denser and prevent water from reaching the metal. In areas like wheel wells, rocker panels, or the inside of a unirail, that barrier is what stops corrosion from starting under the paint. Shops that skip epoxy primer and go straight to a urethane primer often see warranty claims for blistering within a year.
Why Nason Epoxy Primer Matters in Collision Repair
Let's talk about the real-world context. You've just had your car repaired after a side-impact collision. The shop replaced the outer rocker panel and sectioned the inner rocker. They welded in a new floor pan corner. The bodywork looks straight, and the new paint matches. But what did they use on the bare metal behind the door before paint? If the answer is “a rattle can of self-etching primer,” that repair has a shelf life. If the answer is **nason epoxy primer** applied properly, you have a much higher chance of a lasting repair.
In the CrashFile Garage forum, we've seen case files where owners bring back cars with blistering on repaired sections within 18 months. The common denominator: no epoxy primer under the paint. The cost difference is maybe $30 in materials, but the peace of mind is worth far more. For diminished value claims, a repair that shows proper primer use (verifiable on the invoice) can reduce the discount a buyer might apply. It's evidence that the shop didn't cut corners.
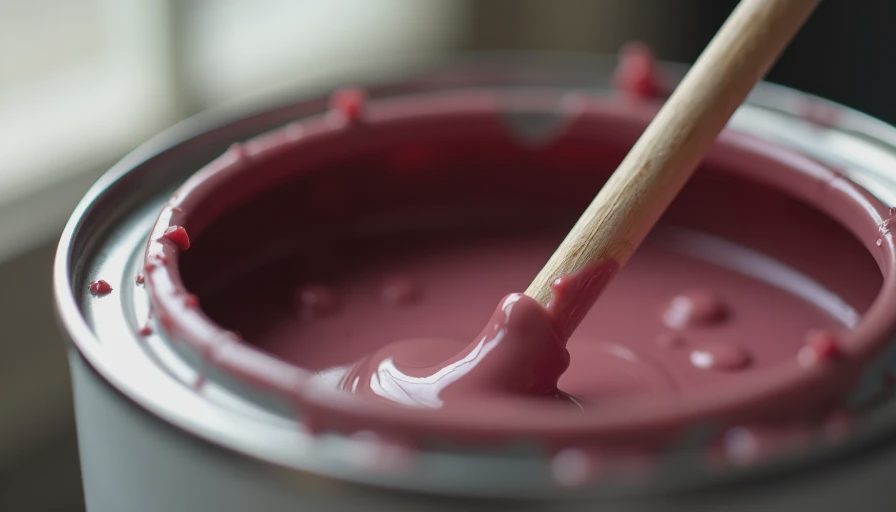
How to Verify Nason Epoxy Primer Was Used
If you're inspecting a repair or ordering work, here's what to look for:
- **On the invoice:** Look for line items like “Nason epoxy primer” or “Epoxy primer – Nason.” If it just says “primer,” ask for specifics.
- **Under the hood or on pinch welds:** A properly applied epoxy primer will have a smooth, slightly glossy appearance, usually gray or dark red (Nason's standard colors). It won't look like a matte rattle-can finish.
- **In the shop:** Reputable body shops will show you their process. If they mix Nason epoxy primer with its hardener, they'll use it within a few hours — it's not a shelf-stable aerosol.
Application Tips for DIYers and Shops
Nason epoxy primer comes in a base and hardener that must be mixed in precise ratios (typically 4:1 or 3:1 depending on the specific product line). It sprays best through a conventional or HVLP gun at about 26-30 PSI. Surface preparation is everything: bare metal should be sanded to 180-320 grit, degreased, and wiped with a wax and grease remover. Apply two medium coats with a flash time of 10-15 minutes between them. Allow 24 hours before sanding or topcoating, though some versions can be wet-sanded after 4 hours.
One common mistake is applying epoxy primer over an existing paint system that isn't fully cured. That can lead to adhesion failure because the solvents in the epoxy lift the old paint. Always test a small area first.
The Bottom Line
For anyone serious about collision repair quality — whether you're a shop owner, a technician, or a car owner doing your homework — **nason epoxy primer** is a standard you should demand. It's not the cheapest primer on the shelf, but it's one of the most reliable. The next time you see a repair invoice, look for it. The car will thank you years down the road.
Frequently Asked Questions About Nason Epoxy Primer
Can nason epoxy primer be used over existing paint?
It is not recommended to apply nason epoxy primer directly over uncured or unknown paint systems. For best adhesion, the primer should go on bare, clean metal or properly prepped substrates. If you must cover existing paint, scuff it thoroughly and use a sealer or an appropriate primer-surfacer instead.
How long does nason epoxy primer take to dry?
Typically, nason epoxy primer dries to the touch within 30 minutes to an hour, but full curing takes 24 hours before sanding or topcoating. Some hardener variants allow faster recoat times, so always check the technical data sheet for your specific product mix.
Is nason epoxy primer worth the extra cost compared to cheap primers?
Yes, especially for collision repairs where long-term durability matters. The material cost difference is small—often $20–$30 per repair—but the protection against corrosion and delamination is significant. For shops that want to minimize warranty claims and for owners who want a repair that lasts, it's a worthwhile investment.
No notes yet — write the first.