Spraying clear coat on a car is the final step in a DIY paint job that can make or break the finish. Whether you're repairing a scratched panel or refinishing a whole car, getting that glossy, protective layer right is critical. Many enthusiasts jump into spraying clear coat on a car without understanding the nuances, ending up with orange peel, runs, or a dull finish. This guide will walk you through the process, from prep to final buffing, so you can achieve a professional-looking result.
Why Clear Coat Matters
Clear coat does more than add shine—it protects the base color from UV rays, oxidation, and minor scratches. When you're spraying clear coat on a car, you're essentially applying a sacrificial layer that takes the beating so the color stays vibrant. Without proper application, that protection is compromised. The clear coat also affects how light reflects off the surface; a smooth, even coat means a deep, mirror-like finish. If you've only ever applied single-stage paint, you'll notice that clear coat requires a slightly different technique, especially regarding drying times and film thickness.
Preparation: The Foundation of a Good Finish
Before you even mix the clear coat, the surface must be absolutely clean and free of dust, grease, or silicone. Wash the panel with a wax and grease remover, then tack-cloth it right before spraying. If you're spraying clear coat on a car over existing paint (like a respray), you need to scuff the surface with 800-1000 grit sandpaper to promote adhesion. Any imperfections in the base coat will show through the clear, so make sure the base is smooth and dust-free. Also, mask off areas you don't want clear on—trim, windows, tires. Use proper automotive masking tape and paper; cheap tape can leave adhesive residue.
Mixing and Gun Setup
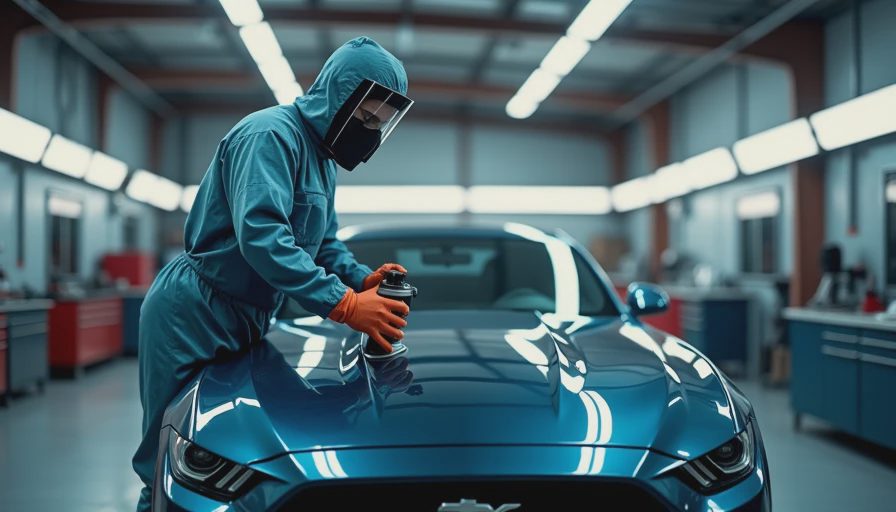
Most clear coats are two-part urethanes: you mix the clear with a hardener and reducer according to the manufacturer's instructions. Spraying clear coat on a car requires paying attention to temperature and humidity; a high-quality clear will have a specific mix ratio and recommended thinner. Use a gravity-feed HVLP spray gun with a 1.3 to 1.5 mm tip. Adjust the fluid knob so you get a consistent fan without spitting. Test your pattern on a piece of cardboard—adjust air pressure (typically 25-30 psi at the gun) until you see a uniform, wet pattern. If you get orange peel at this stage, your air pressure or distance might be off.
Spray Technique: Lay Down Even Coats
When spraying clear coat on a car, you want between two and three medium-wet coats, not one heavy coat. Hold the gun about 6-8 inches from the surface, parallel to the panel. Start spraying off the panel, move across in a steady pass, and release the trigger after you pass the edge. Overlap each pass by 50%. The first coat should be a “tack” coat—light and barely wet. Let it flash for 5-10 minutes (depending on temp and product) until it becomes tacky to the touch. Then apply the second coat slightly wetter, covering the previous pass completely. A third coat may be needed for horizontal surfaces or dark colors to achieve depth. Avoid the temptation to flood the panel; runs are a pain to fix later.
Common Mistakes When Spraying Clear Coat on a Car
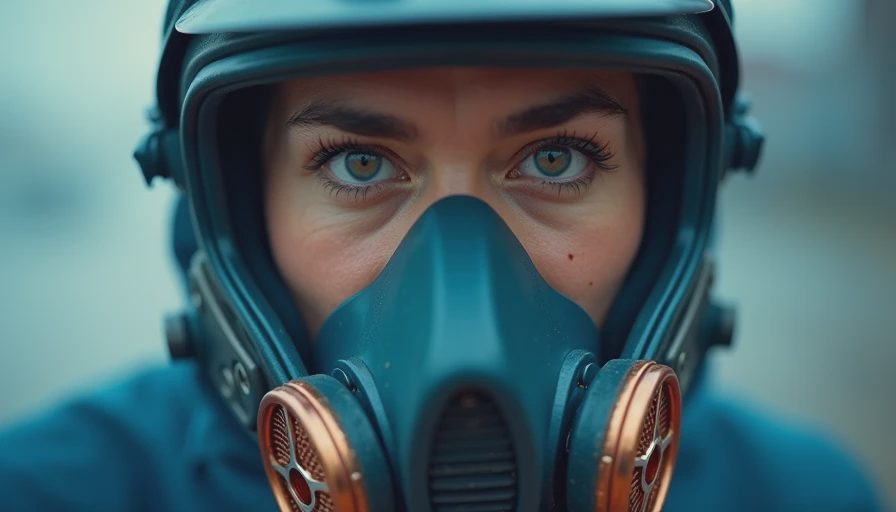
One of the biggest errors is not waiting long enough between coats. If you apply a wet coat over a still-wet tack coat, you risk solvent pop or runs. Another mistake is spraying in direct sunlight or extreme humidity—the clear can dry too fast or trap moisture, causing blushing. Also, many DIYers fail to filter the clear after mixing, leading to small dirt nibs in the finish. Always use a paint strainer (the cone-shaped paper filters) when pouring into the gun. Lastly, don't neglect the edges of panels; if you don't get enough clear on the edges, they may chip later.
After Application: Cutting and Buffing
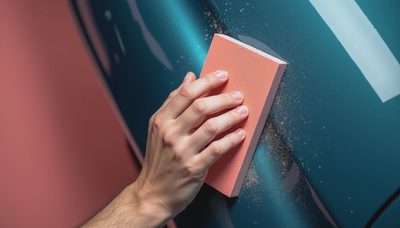
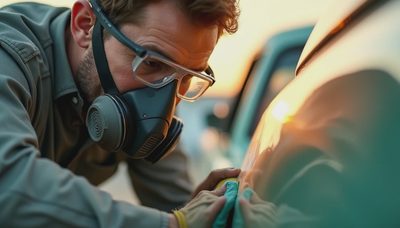
Once you've finished spraying clear coat on a car, let it cure fully—typically 24-48 hours at room temperature before sanding. Sand out any orange peel or dust nibs starting with 1000 grit wet-sand, then progress to 1500, 2000, and 3000 grit. Use a sanding block and keep the paper wet. After sanding, buff with a cutting compound, then polish, and finally a swirl remover. The result should be a glass-like finish. If you skipped the sanding step, your clear coat will look pebbly. This is where many people wonder why their clear coat doesn't look as good as a pro's.
Does Spraying Clear Coat on a Car Affect Resale Value?
Yes, and not always positively. A respray that uses proper technique can restore a car's appearance, but if the clear coat fails, it screams cheap repair. Buyers are wary of peeling clear—it's a sign of poor prep or low-quality materials. If you're planning to sell the car, investing in a quality clear coat job (or hiring a pro) can pay off. However, if you're spraying clear coat on a car as part of a structural repair (like a replaced quarter panel), make sure the clear matches the adjacent panels. A mismatch in gloss or texture will lower the car's appeal. Our forum has case files on post-repair paint mismatches that cost owners hundreds in diminished value.
Final Verdict
Spraying clear coat on a car is absolutely doable for the DIYer, but it demands patience, clean conditions, and the right equipment. Rushing any step leads to an unsatisfactory finish that will need rework. If you're unsure, practice on a scrap panel first. For those who've already attempted it and got orange peel or runs, our forum members can help you sand and recoat. Remember: the clear coat is your car's armor—treat it with respect.
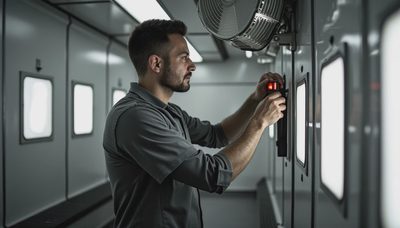
Now go set up your spray booth, mix that clear, and lay down a coat you'll be proud of.
No notes yet — write the first.