How to Prep a Car for Paint After Collision Repair
If you want to know how to prep a car for paint after collision repair, you're in the right place. Paint preparation is the single most important step in getting a finish that lasts. I've seen too many cases where an owner rushes through this phase and ends up with peeling, fish eyes, or sand scratches showing through the color. This guide walks through the process I've used on dozens of repair jobs, from light bumper scuffs to full quarter-panel replacements.
Why Proper Prep Matters for a Collision Repair Paint Job
Body shops often cut corners on prep because time is money. But when you're the one living with the car afterward, a failed paint job is a constant reminder of a half-baked repair. The clear coat might look great for six months, then it starts lifting around the repair area. That happens because the substrate wasn't properly cleaned or the primer wasn't allowed to cure. The question isn't whether it looks fixed the day you pick it up — it's what was cut, pulled, replaced, and how the paint was prepped. A glossy surface can hide a lot of sins, but sunlight and weather will expose them.
Step 1: Sand and Feather the Repair Area
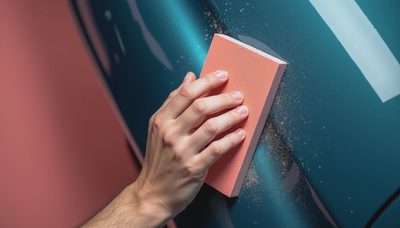
Start with dry sanding using 80-grit to knock down any high spots from body filler. Then move to 120-grit to smooth the edges. Feather the repair out into the surrounding paint — you want a gradual transition, not a sharp step. If you can feel the edge with your fingernail, it's not feathered enough. Finish with 220-grit on a DA sander, then switch to 400-grit wet or dry for the final sand before primer. For factory clearcoat edges, use 600-grit to avoid deep scratches that might telegraph through the new paint. Always keep the sander flat; putting pressure on one side creates troughs that will show after paint.
Step 2: Mask and Protect Everything You Don't Want Painted
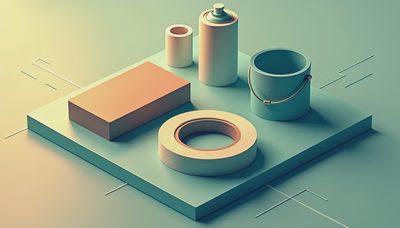
Use quality automotive masking tape like 3M Automotive Fineline or equivalent. Avoid cheap hardware-store tape that leaves residue or bleeds paint. Cover headlights, taillights, trim, rubber seals, and any adjacent panels that aren't being painted. For large areas, use paper and plastic sheeting. The key is to tuck the tape under the edges of moldings and weatherstrips so overspray doesn't sneak through. Pay special attention to door jambs and inside the hood if you're blending adjacent panels. Any unmasked gap will end up with a fine layer of overspray that's hard to remove later.
Step 3: Clean, Degrease, and Tack Cloth
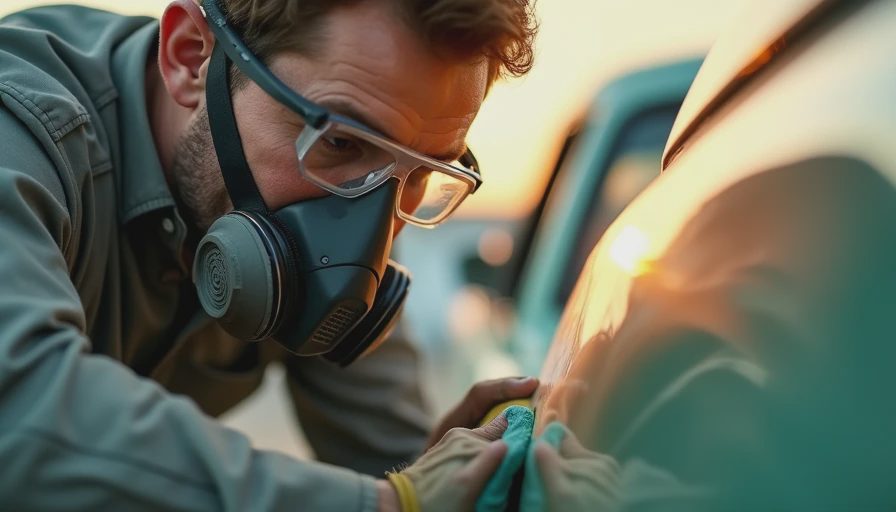
After sanding and masking, wipe the entire area with a wax and grease remover like PPG Acrylic Cleaner or equivalent. Use two clean microfiber towels — one for applying, one for drying. Do not use household cleaners; they leave residues that cause fisheyes. Once the surface is clean, go over it with a tack cloth to pick up any dust. Be thorough. Even a single particle of dirt or silica from sanding will create a bump in the finish. If you're painting in a garage, mist the floor with water to keep dust down. This is the step most DIYers rush, and it's exactly where paint defects are born.
Step 4: Apply Primer and Block Sand
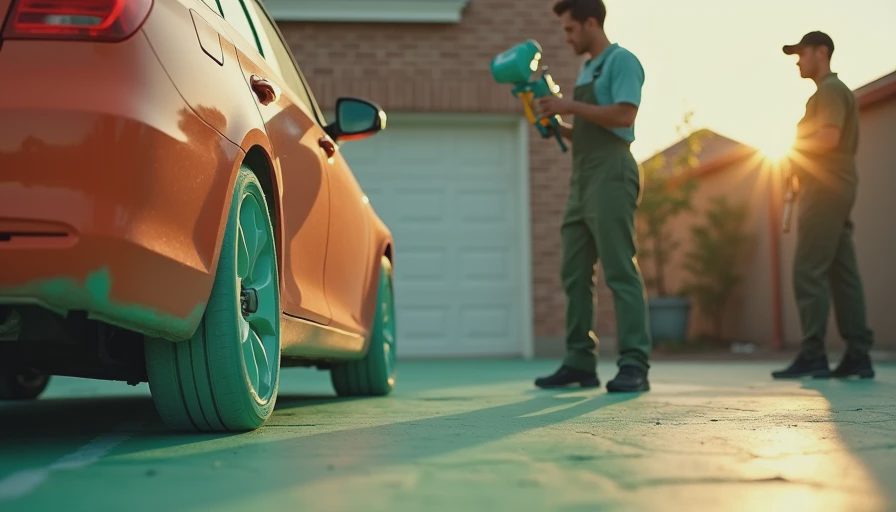
Use a high-build 2K primer (spray can or gun) designed for automotive use. Apply two to three medium coats, allowing flash time between coats per the product instructions. Let it cure for at least 24 hours, or use a heat lamp to speed up drying. Then block sand the primer starting with 400-grit and moving to 600-grit wet for the final pass. Block sanding ensures the surface is flat and any minor imperfections are removed. If you're using a guide coat (light spray of dark paint before sanding), you can see low spots easily. Don't skip this step — it separates a decent paint job from a great one.
Step 5: Final Wipe Down and Paint
Before shooting color, do another clean with wax and grease remover and a tack cloth. This is your last chance to catch dirt or silicone. Mix your basecoat properly, strain it, and apply in even passes. For metallic colors, keep the gun distance consistent to avoid mottling. Let the basecoat flash, then apply clear coat. The key to a durable finish is to avoid heavy coats that run, and to give each coat enough flash time. If you're blending into adjacent panels, follow the blend technique recommended by your paint system. After painting, remove masking immediately while the paint is still somewhat soft to avoid pulling up fresh paint edges — but be careful not to touch the painted surface.
Conclusion
Learning how to prep a car for paint is about patience and attention to detail. Every skipped step or rushed sanding grit shows up in the final finish. Whether you're doing the work yourself or overseeing a body shop, hold them — and yourself — to the standard of a repair that looks good and stays that way. Cosmetic clean is not the same as structurally clean, but in paint prep, clean is everything.
No notes yet — write the first.