Prepping a vehicle for paint is the most critical step in achieving a durable, showroom-quality finish. If you rush the prep, the paint will fail—peeling, bubbling, or fisheyeing within months. Learning how to prep a vehicle for paint the right way separates a job that looks good from one that lasts. Whether you are a DIYer tackling a weekend project or a shop technician aiming for consistency, this guide walks through every stage with the detail that counts.
Why Proper Prep Matters
Paint is only as good as the surface it bonds to. A smooth, clean, and properly primed substrate prevents adhesion failures, corrosion, and finish defects. The biggest mistake enthusiasts make is skipping steps or using the wrong materials. Knowing how to prep a vehicle for paint means understanding that each layer—metal, filler, primer, sealer—must be compatible. For example, using a lacquer primer under a modern urethane basecoat can cause lifting. Always read the technical data sheet for your chosen paint system. The hours spent on prep pay off in a finish that resists chips, UV fade, and chemical stains.
Step 1: Wash and Degrease Thoroughly
Start with a pressure wash to remove loose dirt and road grime. Then use a dedicated wax and grease remover—products like 3M Prep-Sol or PPG Acryli-Clean—to strip any wax, silicone, or oil. Contaminants are the number one cause of fisheye defects. Work in small sections using two clean microfiber towels: one wet with cleaner, one dry to wipe before it evaporates. Do not use dish soap; it leaves residues. For engine bays or wheel wells that will be painted, scrub with a stiff brush and a degreaser like Simple Green, then rinse thoroughly.
Step 2: Sanding – The Foundation of Flatness
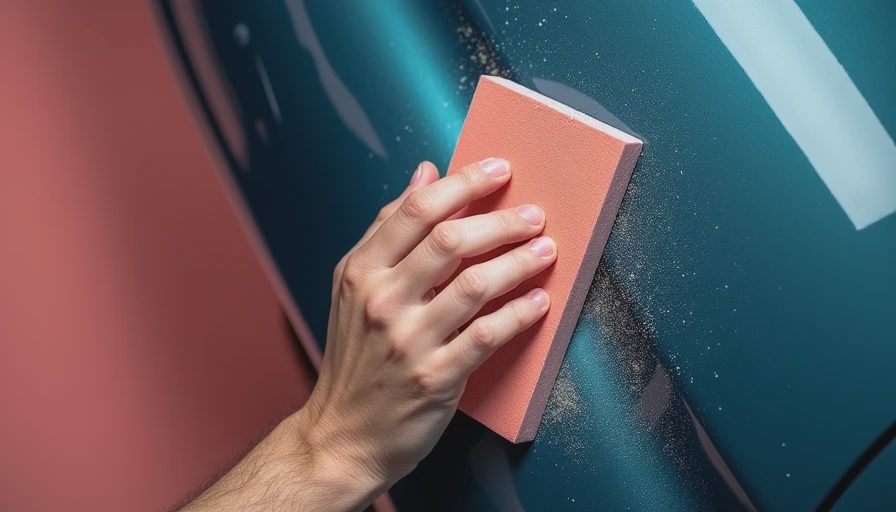
Sanding creates mechanical adhesion and levels old paint or imperfection. For a full repaint, start with 80-grit on bare metal or heavy orange peel, then move to 180-grit, and finish with 320-grit for primer. If the existing clearcoat is sound, a scuff sand with 400-grit wet or 600-grit dry is enough. Use a dual-action sander with a vacuum attachment to keep dust down. Hand-sand tight areas like door jambs and cowls. Always sand in cross-hatch patterns (first pass one direction, second pass perpendicular) to avoid deep scratches that won't hide under primer. A cheap paint thickness gauge ensures you do not burn through to metal where it matters.
Step 3: Body Filler and Primer
Small dents and scratches need body filler. Mix filler and hardener according to directions until consistent color appears. Apply with a spreader in thin layers—thick applications trap solvents and shrink. Let it cure fully before sanding. Start with 80-grit on a block to shape, then 180-grit to smooth, and finish with 320-grit. After filler work, apply a high-build primer like Evercoat Feather Fill or U-POL Uro Primer. Spray two medium coats, let flash between coats, and then sand with 400-grit wet or 320-grit dry. Primer fills minor scratches and provides a uniform base color. Use a guide coat (light dusting of black spray paint) to reveal low spots as you sand.
Step 4: Masking and Final Wipe-Down
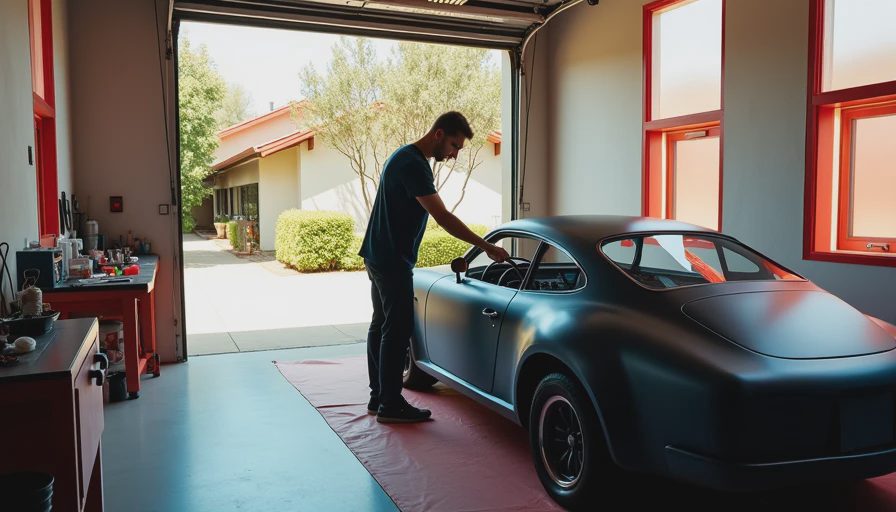
Mask off everything that should not be painted: windows, trim, tires, emblems, and adjacent panels. Use quality automotive masking tape like 3M 233+ (green) or 3M 218 (fine line for sharp edges). Tape patterns matter—stick the tape to a clean surface and burnish edges to prevent bleed. Cover large areas with paper or plastic sheeting. Before any paint touches the car, do a final wipe-down with a tack cloth and a wax and grease remover. Static electricity attracts lint and dust; a tack cloth picks up particles. If you can see dust, so will the paint.
Step 5: Paint Application Tips for the DIYer
Now you are ready to paint. Choose a spray system—HVLP gun for basecoat/clearcoat or rattle cans for small jobs. Follow the manufacturer's recommendation for reducer ratios and tip size. Spray in a well-ventilated, dust-free area. Clean the gun thoroughly before each use. Apply basecoat in medium wet coats, allowing flash time between coats. Three to four coats typically cover. Clearcoat requires a different technique: flow it on heavier to self-level. Expect runs if you lay it too thick. After painting, let the car sit in a warm, dry environment for at least 24 hours before handling or 72 hours before compounding.
Common Mistakes When Prepping a Vehicle for Paint
Even experienced painters slip up. Here are the most frequent errors: not changing sanding grits progressively, leaving wax or silicone on the surface, skipping primer on bare metal (which causes corrosion), using masking tape that leaves adhesive residue, and painting in high humidity. Another overlooked detail: never use silicone-based polishes before paint—they contaminate the surface. If you are unsure about how to prep a vehicle for paint, talk to your local auto paint supplier. They can recommend compatible products for your specific paint code and plastic substrates like bumpers.
Knowing how to prep a vehicle for paint takes practice, but the steps above will get you a finish that looks professional and lasts. Stay patient, invest in good materials, and do not skip the cleaning. Your car—and your wallet—will thank you when the paint still shines years down the road.

No notes yet — write the first.