If you're considering painting plastic chrome trim on your car, you already know that factory chrome looks great until it starts peeling or bubbling. Painting plastic chrome is a common fix for faded or flaking parts, but getting the paint to stick requires more than just a rattle can. The chrome layer is slick and non-porous, so any mistake in prep leads to peeling within weeks.
Why Plastic Chrome Is So Hard to Paint
Plastic chrome is actually a layer of vacuum-metallized aluminum deposited on ABS or polypropylene. That mirror finish is beautiful but nearly impossible for paint to mechanically bond to. If you spray paint directly over chrome, the solvent won't bite, and the paint will lift off like a decal. The only way to make painting plastic chrome work is to either strip the chrome completely or etch the surface so aggressively that the paint has something to grip.
Many owners try to scuff-sand the chrome with 400-grit and paint, only to see the finish fail within months. The chrome layer is less than a micron thick—sand through it and you're on bare plastic, which is still tricky. But if you leave any chrome intact, the paint will eventually separate. That's why so many shop hours are wasted on rework for this exact job.
Step-by-Step: How to Paint Plastic Chrome Correctly
1. Remove the Part
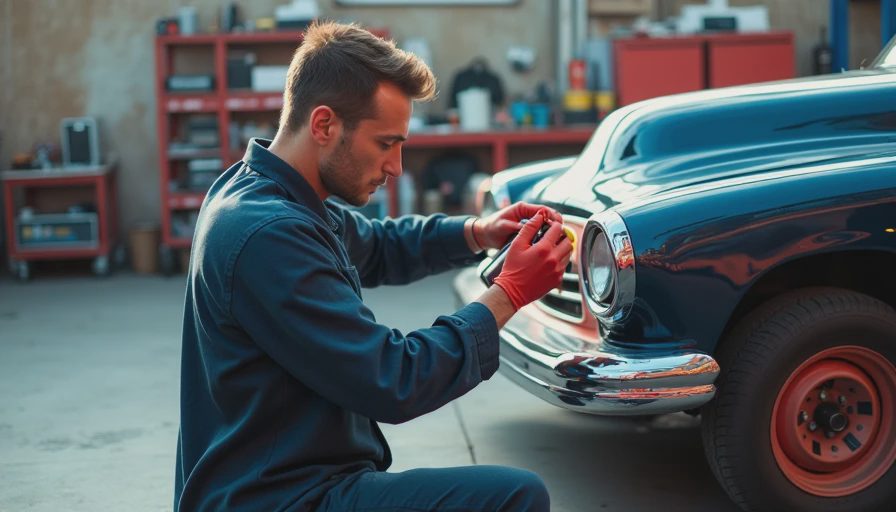
Take the trim piece off the car. Masking around it on the car almost always leads to overspray on adjacent panels and incomplete edge prep. Most plastic chrome parts are held on by clips or double-sided tape. A trim removal tool set and some careful prying will get them off without breaking the tabs.
2. Strip the Chrome
This is the step that separates a lasting job from a failure. You need to remove the metallic chrome layer completely. Soak the part in a strong oven cleaner (Easy-Off heavy duty works) or use a dedicated chrome stripper. Let it sit for 10-15 minutes, then scrub with a scouring pad and rinse. The chrome should come off as a dark sludge. If not, repeat. Once the plastic is down to its natural color, you're ready.
3. Clean and Scuff
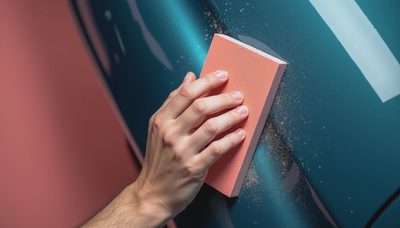
Wash the stripped plastic with soap and water, then wipe with rubbing alcohol. Scuff the entire surface with 400-grit sandpaper, then a grey Scotch-Brite pad. Rinse and let dry. Any contamination from oils or residue will cause fisheyes later.
4. Primer
Use an adhesion promoter designed for plastics—Bulldog or Rust-Oleum Plastic Primer. Spray two light coats, allowing flash time between them. The primer must be fully cured (check the can, usually 30-60 minutes) before painting.
5. Paint
Choose a flexible paint formulated for automotive exterior use. Dupli-Color Perfect Match or SEM Trim Paint work well. Apply 3-4 light, wet coats, letting each tack up for 10 minutes. Then let the part cure for at least 24 hours before handling, and 72 hours before reinstalling.
6. Clear Coat (Optional but Recommended)
A 2K clear coat in a rattle can (SprayMax 2K) adds UV protection and scratch resistance. It also gives that factory-smooth gloss. Apply one or two medium coats after the base color dries.
Common Mistakes When Painting Plastic Chrome
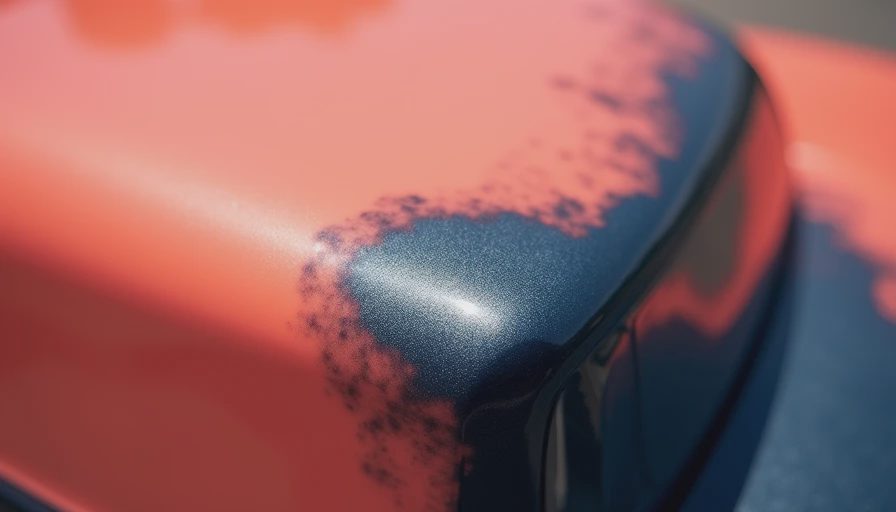
Skipping the strip step. This is the number one cause of failure. You cannot paint over chrome and expect it to hold. Even if you scuff it, the chrome layer is too smooth and brittle. The paint will chip off when the plastic flexes during installation or temperature changes.
Using hardware-store paint. Interior latex or general-purpose spray paint cures too hard and will crack on flexible plastic. Stick to paints labeled for automotive plastic.
Not using an adhesion promoter. Even on bare ABS, many paints lack the flexibility to stay bonded. A dedicated plastic adhesion promoter chemically etches the surface and creates a tie layer.
Rushing the cure time. Plastic parts off-gas solvents slowly. If you install the trim too soon, the paint may be soft and fingerprint easily, or it could react with the adhesive backing.
What Products Actually Work for Painting Plastic Chrome
From personal experience and case files on this forum, a few product combinations consistently deliver:
- Bulldog Adhesion Promoter – This stuff is thixotropic, meaning it stays on vertical surfaces without running. It bonds to nearly any plastic.
- Rust-Oleum Automotive Primer – Cheap and reliable, but only use the aerosol designed for plastic.
- SEM Color Coat – A urethane-based paint that comes in factory colors and even a low-gloss trim black. Extremely durable.
- SprayMax 2K Clear – A real two-component clear in a can. Hard enough to resist gas spills and bird droppings.
If you need a single-step solution, some paint lines offer a direct-to-plastic paint that combines primer and color. Dupli-Color Plastic Finish is one. But for painting plastic chrome that has been stripped, you'll still need a separate primer.
Does Painting Plastic Chrome Affect Resale or Insurance?
Painted trim parts are not original, so a buyer or appraiser will notice. If the paint job is obvious—different gloss level, orange peel, or overspray on adjacent parts—the car may be considered modified, which can lower its value. However, if the original chrome was flaking off, a clean painted finish is generally more acceptable than peeling chrome. On insurance claims, painting plastic chrome parts is often the recommended repair path when OEM replacements are backordered. Insurers may pay for the labor if you can show the chrome is damaged beyond polishing. Just keep your receipts and photos.
Final Word on Painting Plastic Chrome
Painting plastic chrome is not a weekend spray-and-pray job. It requires stripping the chrome, proper priming, and flexible paint. Follow the steps here, and you'll get a finish that lasts years instead of months. The evidence is in the prep—skip it, and you'll be redoing the work. Do it right, and that trim looks factory fresh.
No notes yet — write the first.